Step 7A: Labelling
Purpose
This sub-stage defines the interpretation rules for the measurement step. You review the rib traces loaded from Step 6, name the ribs and boss stones, decide which traces belong together, pair symmetrical ribs, and choose the impost line used for later height calculations. An additional semicircular flag is available as an experimental option, but it should be used cautiously.
The aim is not just to tidy the labels. The choices you make here directly affect the values shown in Step 7B, especially span, apex height, and any grouped measurements.
Workflow

1. Inspect the 3D viewer
- Click rib labels or traces to select them.
- Use Error Heat to show how strongly a trace departs from its best-fit arc.
- Use Best Fit Arc to inspect the fitted circular arc directly.
- Toggle Ribs and Bosses to show or hide labels in the viewer.
2. Set the impost line
- In the Impost Line panel, choose either Step 5 or Auto.
- Step 5 uses the floor-plane value already established during reprojection.
- Auto estimates the impost height from the springing geometry of the loaded ribs.
- If Step 5 did not save an impost height, use Auto or return to Step 5.
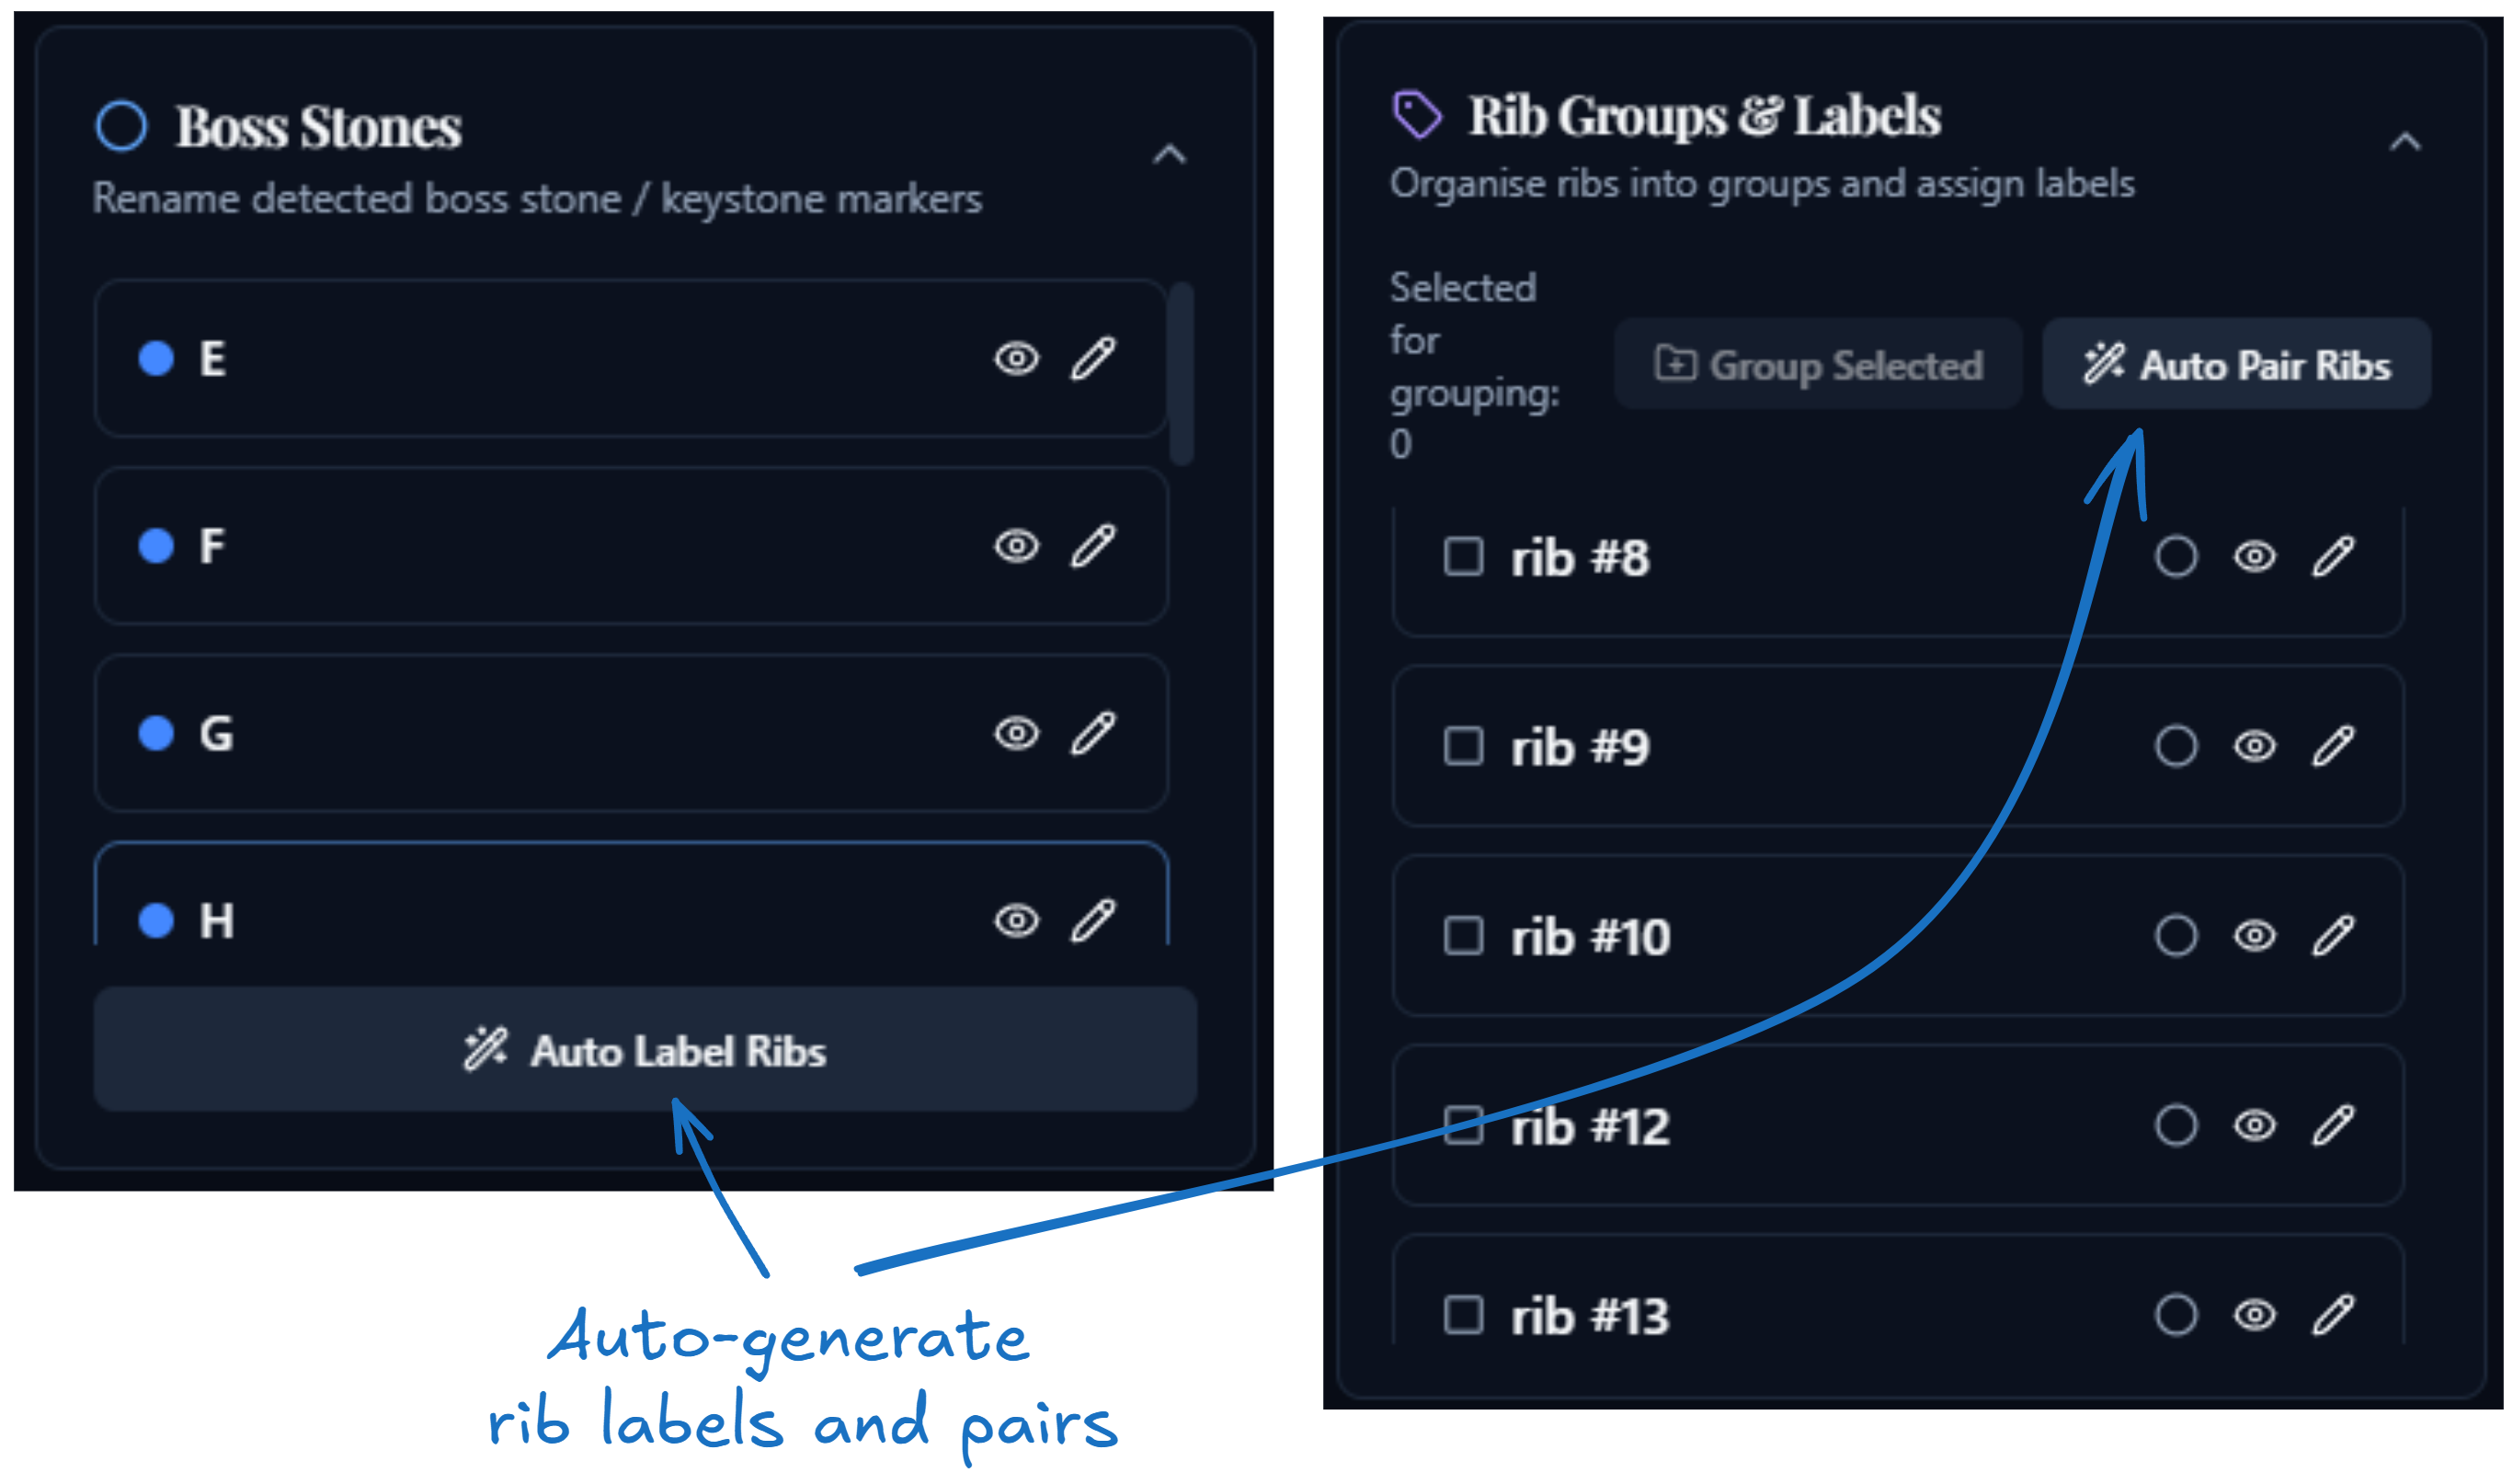
3. Review boss stones
- In the Boss Stones panel, rename keystone and junction markers so they are meaningful for the current vault, if necessary.
- Use the eye icon to hide distracting markers in the 3D view.
- Click Auto Label Ribs if you want the app to generate rib names from the nearest lower and upper boss stones. This is a useful starting point, but it still needs review.
4. Organise rib groups and names
- In Rib Groups & Labels, select ribs and click Group Selected when multiple trace segments should be treated as one structural rib.
- Rename individual ribs or whole groups where needed.
- Use Ungroup on an automatic or manual grouping if the app has combined the wrong traces.
- Mark ribs or groups as semicircular only if you deliberately want to test the experimental semicircular mode.
- In most cases, it is better to treat semicircular rib sets like any other ribs: name them, group them if needed, and define the relevant pairings normally.
5. Define rib pairings
- In Rib Pairings, select exactly two ribs or rib groups and click Pair Selected to define a symmetrical pair.
- Use Auto Pair Ribs to let the app propose missing pairings from boss-symmetry analysis.
The Auto Label Ribs and Auto Pair Ribs actions are best used as a first pass: they can speed up setup considerably, but you should still review the generated names and pairings before continuing.
6. Continue to Step 7B
- Clicking Continue to Data saves the current configuration and unlocks the data tab.
Before moving on
- the impost line height has been reviewed
- important boss stones have clear names
- ribs that belong together have been grouped
- incorrect automatic groupings have been removed
- symmetrical ribs have been paired where apex comparison is needed
Click Continue to Data at the bottom of the page to continue to sub-stage 7B.